Quickbooks
QuickBooks is a cloud based Enterprise Resource Planning (ERP) tool that centralizes data entry for accounting teams. Toric users can connect to Quickbooks to provide continuous and secure access to ERP data, and leverage the workspace for transformation and visualization.
With the Quickbooks connector, Toric users can:
- Process, clean, and transform your sales data in a non-destructive way.
- Blend your Quickbooks data with 50+ other sources including Procore, Autodesk Construction Cloud, P6, Navisworks, and more.
- Reuse your data transformations for new versions and projects with reusable flows.
- Create interactive dashboards and visuals using your Quickbooks data.
- Embed analytics into 3rd party tools like Sharepoint, Procore, or Notion for stakeholder access to insights.
Data Access
| API |
|---|
| Accounts |
| Bill Payments |
| Bills |
| Customers |
| Employees |
| Jorunals |
| Vendors |
Don't see endpoints you are looking for? We're always happy to make new endpoints available. Request an endpoint here!
Security and Permissions
| Permission | Description | Required |
|---|---|---|
| Primary Admin | The primary admin is the main user who has access to every part of the QuickBooks account. They can manage all users and other admin tasks. By default, the primary admin is the person who initially set up the account. Read more on quickbooks.com. | Username and Password |
Configuration Guide
Setup time: 30 seconds
Requirements:
- Quickbooks account
- Web Browser (Safari, Chrome, Edge, Firefox)
1. Navigate to the Connectors
To find connectors in Toric, you must be signed in to your account. On the left side panel of your Workflow, click on "Integrations".
2. Select the Quickbooks Connector
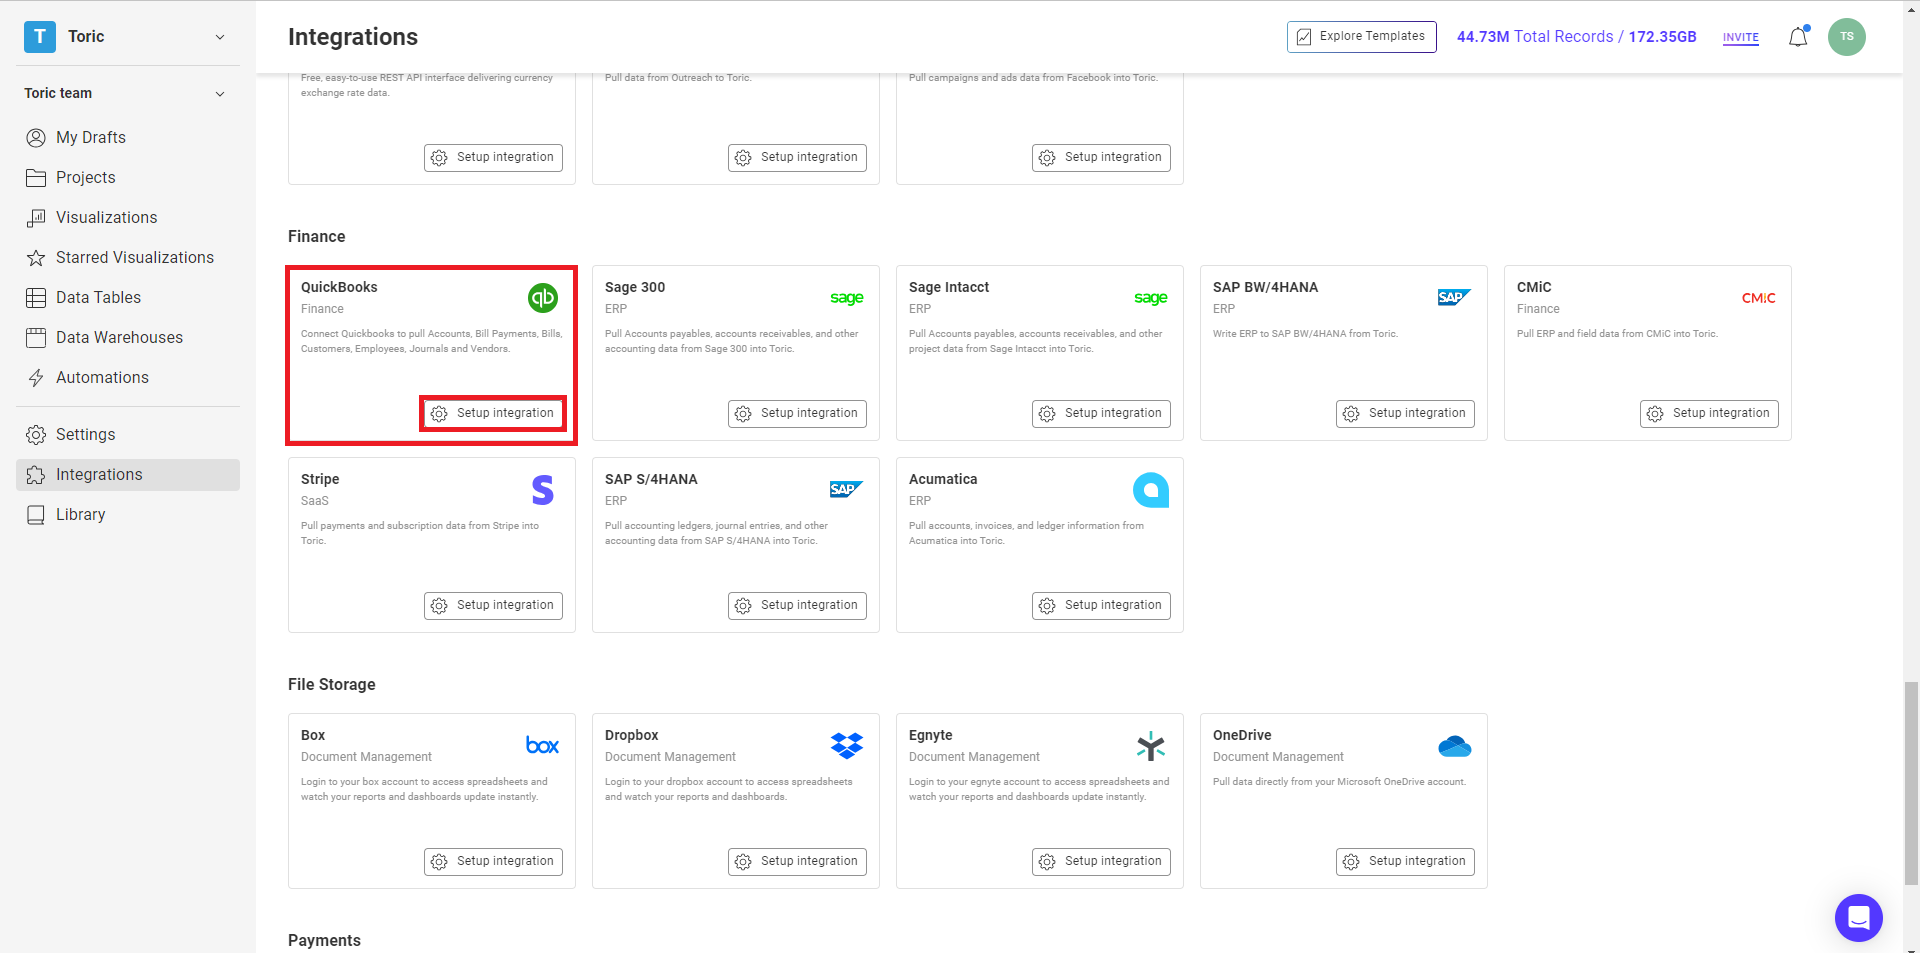
Under the ‘Finance’ header, navigate to the ‘Quickbooks’ thumbnail and click on ‘Setup Integration’.
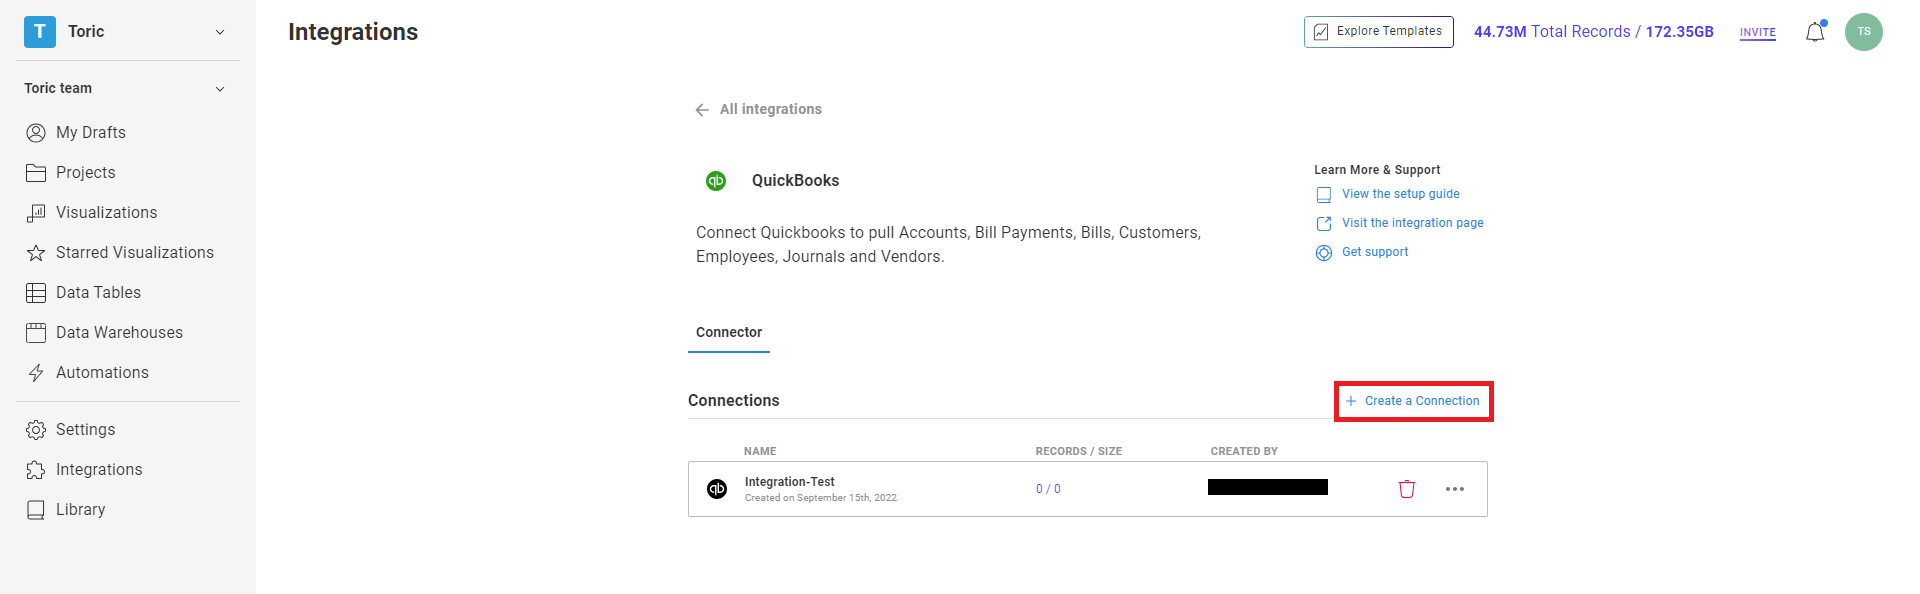
3. Click on Create a Connection
4. Fill in the required information
Enter a Configuration Name and login to Quickbooks using your Quickbooks credentials. Make sure you're using the username and password of a QuickBooks Administrator. If you do not have such an account, please reach out to your team and have someone with the proper QuickBooks account set up your configuration.
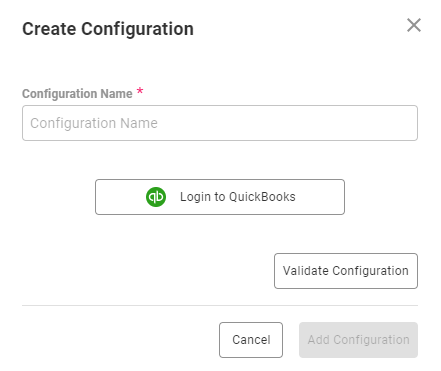
5. Click on Validate Configuration
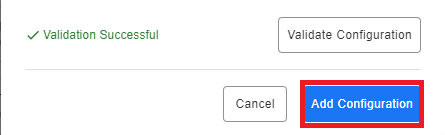
Now that you have all Configuration details filled in, click on Validate Configuration.
If the information entered is valid, a Validation Successful message will appear.
- Invalid fields will be highlighted in red and a successful validation will show in green.

6. Click “Add Configuration” to finalize your configuration
Integration Capabilities Supported by the Connector
Toric connects through Quickbooks via APIs and we currently support data access to multiple endpoints including Accounts, Bills, and Customers. Please reference the above data access table for more information.
Toric supports Outreach local file import in the following formats:
- CSV
- XLS
Related articles
https://www.toric.com/support/configure-quickbooks-connector
Questions?
We're very happy to help answer any questions you may have. Contact support here or send us an email at support@toric.com.


