How To Use The Toric Plugin

Do you need to extract data from your desktop tools? Let’s learn about the Toric desktop plugin which is great for selecting and sending data while you’re using you day-to-day software.
This article covers:
- • Where Can I Find Integrations in Toric?
- • How Do I Use a Plugin?
- • Two-Factor Authentication
- • FAQ
What Are Integrations?
An Integration is any software which Toric can connect to via an API service. Simply, Toric facilitates getting your data by connecting to your software tools.
Where Can I Find Integrations in Toric?
You will need to be signed into your Toric account. On the main page (Dataflow Management), navigate to the left panel and click on Integrations.
The integrations that require you to download the Toric Desktop plugin are in the Construction and BIM category. The following Integrations have a plugin available:
- • Revit
- • Navisworks
- • ArchiCAD
- • Civil 3D (Coming Soon)
There are two steps to follow to get started with a plugin:
- Download The Plugin
- Follow The Setup Instructions
1. Download The Plugin
Click on the Download Plugin button. You will notice a file appear at the bottom of your screen.
If the setup window does not open, click on the file and select Open.
2. Follow The Setup Instructions
Click Next, check the box to accept the Terms and Conditions to complete the setup.
Note: Plugins will automatically install on all versions of your desktop tools. You could choose to exclude specific versions; however, we recommend keeping the default installation.
When the setup is complete, click on Finish to close the window..
How Do I Use The Toric Desktop Plugin?
We will demonstrate how to use the Revit plugin however the process is the same for all desktop plugins. Follow the following steps:
- Locate and Select the Toric Plugin
- Sign In to Your Toric Account
- Select Your Data
- Send Data to Toric
1. Locate and Select the Toric Plugin
In your desktop tool (i.e., Revit), locate and click on the Toric tab. Then click the Toric button to open the plugin window.

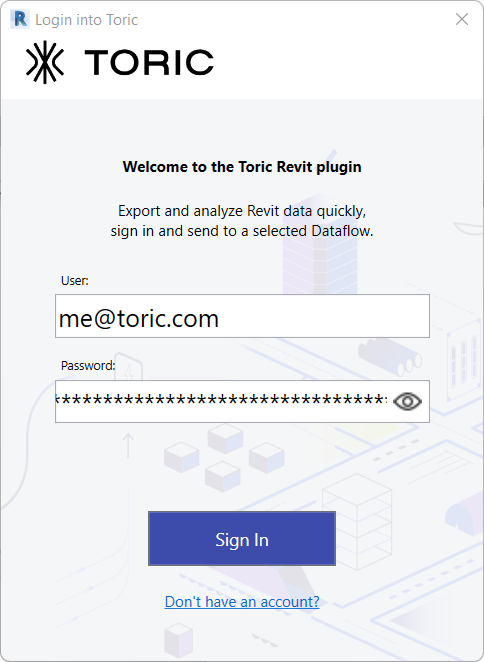
2. Sign In to Your Toric Account
Enter your Toric username and password and click Sign In.
2.1 Log in with 2FA
All desktop plugins support 2FA. If 2FA is enabled, you will need to verify your identity with a code. Protect your account and Setup Two-Factor Authentication.
Note: You will need to download the latest plugins for this to work.
2.2 🆕Log in with SSO
All desktop plugins support Google Single-Sign-On. Protect your account and Setup Single-Sign-On Authentication.
Note: You will need to download the latest plugins for this to work.
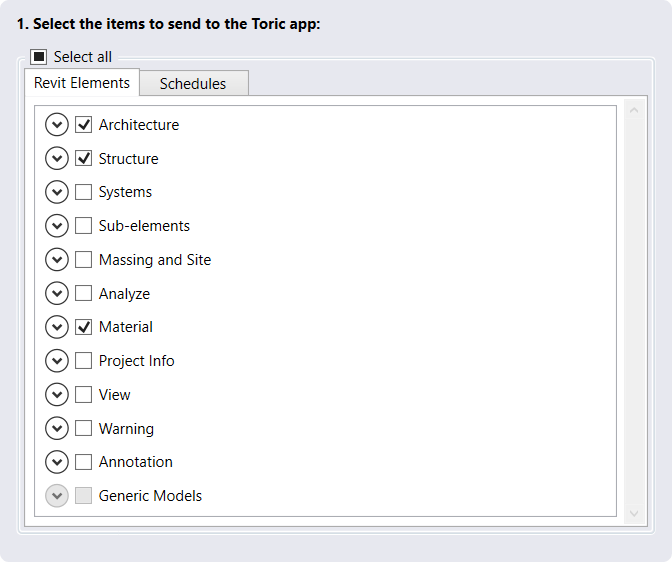
3. Select Your Data
Use the checkboxes to select specific data.
Note: We recommend selecting only necessary data for large files (>500Mb). This will speed up the data export and will improve model viewer performance (i.e., 3D CAD models)
4. Send Data To Toric
Click the Send data to Toric button and wait for the process to complete.
Note: This may take a few more minutes for large files. For example, exporting Revit files over 500Mb, including model geometry, may take more than 10min.
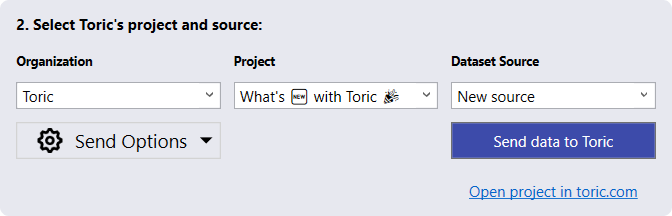
Click the Open project in toric.com hyperlink to go straight to the project that contains your data.
Check out the links below for related articles:
Check out the links below for related Data App Templates:


